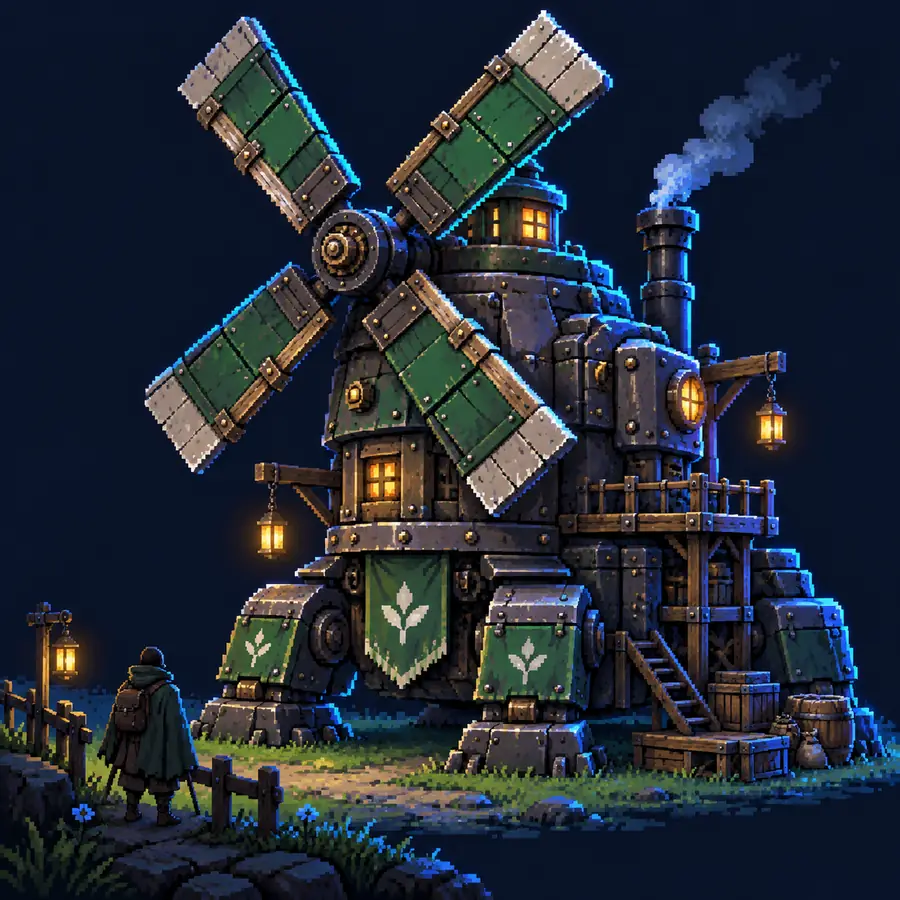
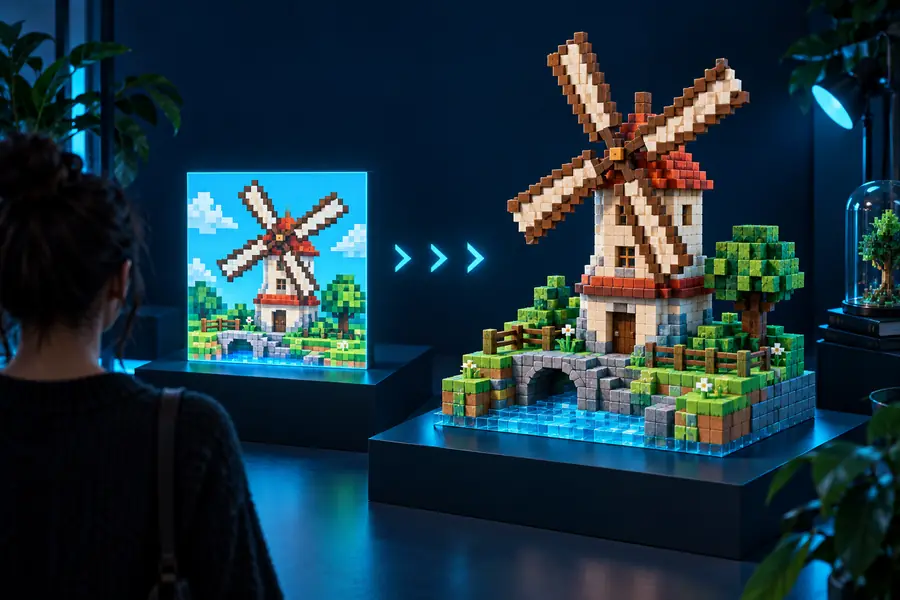
How can I convert pixel art to 3D? Start with a clean sprite, describe the intended depth and materials, then use pixal3d to create a model direction you can inspect and refine.
Choose your route
A/B structural difference table
The best workflow depends on whether the sprite is a character, prop, tile, or scene cue. Each route preserves a different kind of visual information.
Indie game artist
You have a front-facing character sprite and need a blockout that keeps its silhouette and signature colors.
Use the sprite as a visual anchor, then specify a neutral pose and simple turntable views for cleanup.
Pixel art is a designed 2D image; a 3D model needs assumptions about depth, hidden surfaces, and lighting. This side-by-side view shows where those formats differ.
Pixel-art source
3D interpretation
1
Primary information
Pixel-art source
Color blocks, outline, and deliberate 2D placement
3D interpretation
Volume, surface direction, and spatial relationships
2
Depth
Pixel-art source
Suggested through shading, overlap, or a single viewpoint
3D interpretation
Made explicit through thickness, recesses, and camera movement
3
Hidden surfaces
Pixel-art source
Usually not defined
3D interpretation
Must be invented, simplified, or left intentionally generic
4
Edges
Pixel-art source
Hard pixel boundaries and selective outlines
3D interpretation
Geometry edges, bevels, normals, or texture boundaries
5
Color behavior
Pixel-art source
Fixed palette chosen for the frame
3D interpretation
Affected by materials, lights, shadows, and viewing angle
6
Scale
Pixel-art source
Measured in pixels and screen-space proportions
3D interpretation
Needs relative dimensions and a consistent world scale
7
Animation readiness
Pixel-art source
Frames imply motion without a complete structure
3D interpretation
Requires joints, topology, or a pose strategy
8
Best use
Pixel-art source
Reference for identity, silhouette, and palette
3D interpretation
Blockout, presentation, scene planning, or further modeling
See the shift
the tool block
A strong conversion keeps the source identity visible while adding only the depth needed to make the object readable from more than one angle.
2D pixel reference
3D model direction
The divider marks interpretation, not a perfect one-to-one reconstruction.
Check the result
how to verify after
Verification is faster when you inspect identity, structure, and readability separately instead of judging the render as one impression.
1Keep the original sprite beside the generated result
1source
2Check the primary angle and one additional direction
2views
3Review silhouette, depth assumptions, and palette drift
3checks
4Do not treat hidden surfaces as confirmed design facts
0guesses
Honest limits
What this route cannot do
Pixel-art conversion is an interpretation step. It can create a useful 3D direction, but several details still need human decisions or conventional modeling work.
Recover unseen sides exactly
A single sprite rarely contains enough evidence to know the back, underside, or occluded details.
WorkaroundSupply additional views or describe the hidden surfaces explicitly as design choices.
Preserve every pixel as geometry
Turning each pixel into a physical element usually creates noisy, fragile, or visually heavy geometry.
WorkaroundPreserve the silhouette and palette while grouping pixels into larger forms.
Guarantee production-ready topology
A generated concept may have useful shapes without clean edge flow, UVs, rigging, or game-ready optimization.
WorkaroundRetopologize, unwrap, and test the asset in your normal production pipeline.
Know the original lighting intent
A dark pixel cluster may be a shadow, outline, material cue, or purely graphic accent.
WorkaroundLabel the intended material and lighting style in the prompt, then verify under neutral lighting.
Plan the review
Estimate your conversion pass
Use the source width as a simple planning proxy. Larger sprites usually require more time to inspect because they carry more color clusters and structural cues.
Suggested review minutes
min
Distinct detail groups
groups
Manual comparison views
views
Common questions
variant FAQ
Start with a clear, high-resolution version of the sprite and describe what should become volume, what should remain graphic, and which details define the asset. Use the result as a 3D concept direction, then verify the silhouette and hidden surfaces rather than assuming every generated detail is correct.
Yes, but a small sprite provides limited evidence, so the output is best treated as a stylized blockout or modeling reference. State the intended proportions, materials, and camera angle, and avoid asking the conversion to preserve every individual pixel as geometry.
Mention the asset type, front or side orientation, desired depth, low-poly or smooth style, material behavior, pose, and background. Also identify the non-negotiable features, such as a helmet shape, weapon outline, roof profile, or restricted color palette.
Not necessarily. A conversion can provide useful form and visual direction, but clean topology, UVs, rigging, texture packing, and optimization usually require a separate production pass.
Compare the source and result at the same primary angle, then inspect one additional view. Check the outer silhouette, dominant color groups, recognizable features, and the assumptions made for hidden or ambiguous areas.