Product designer
You have a product photograph and need a fast form study before creating a detailed CAD asset.
Use the generated model to discuss proportions, silhouette, and presentation angles with your team.
how can i convert pixel art to 3dImage to model
If you are asking how can i convert my picture to 3d, the process starts by reading visual cues in one image and turning them into a usable three-dimensional form. pixal3d helps you move from a reference picture to a model concept with a clear prompt and a quick review loop.
A picture contains visual evidence, while a 3D model must make decisions about hidden surfaces, depth, scale, and structure. Comparing the two makes the conversion tradeoffs easier to understand.
Source picture
3D model
Source picture
Visible color, edges, texture, and silhouette
3D model
Interpreted shape, depth, materials, and camera-facing form
Source picture
Usually absent from a single view
3D model
Estimated from context and common object structure
Source picture
Flat pixel arrangement
3D model
Surface planes, curves, thickness, and volume
Source picture
Relative size within the frame
3D model
Approximate dimensions or proportions
Source picture
Lighting and texture are captured together
3D model
Material appearance can be separated and refined
Source picture
Reference, mood, and visual target
3D model
Preview, scene layout, animation, or further editing
Source picture
Blur, occlusion, unusual perspective, or cropping
3D model
Invented details, warped depth, or incomplete backsides
Use a specific image description instead of a vague request. Name the subject, viewpoint, important parts, material, and the kind of model you want returned.
Before shows the visual source; after shows the interpreted volume. Inspect the rear, underside, and thin parts before treating the result as production-ready.
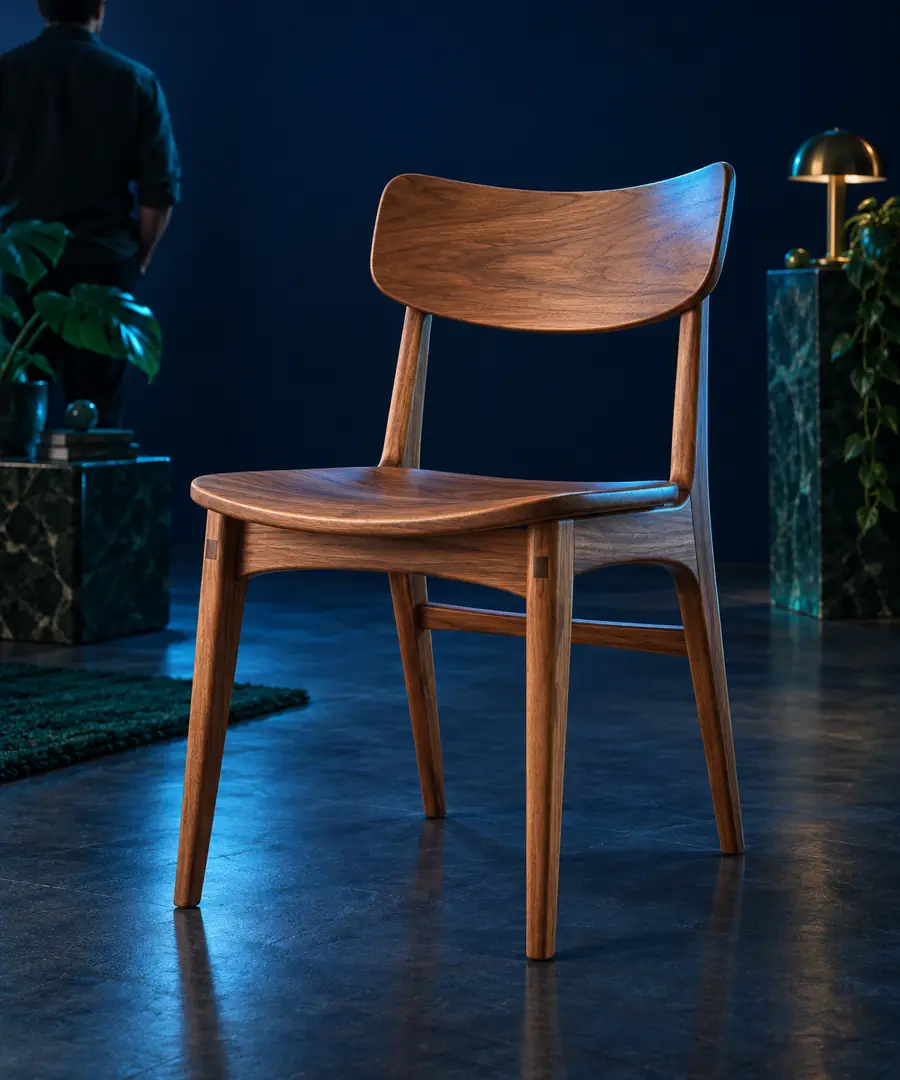
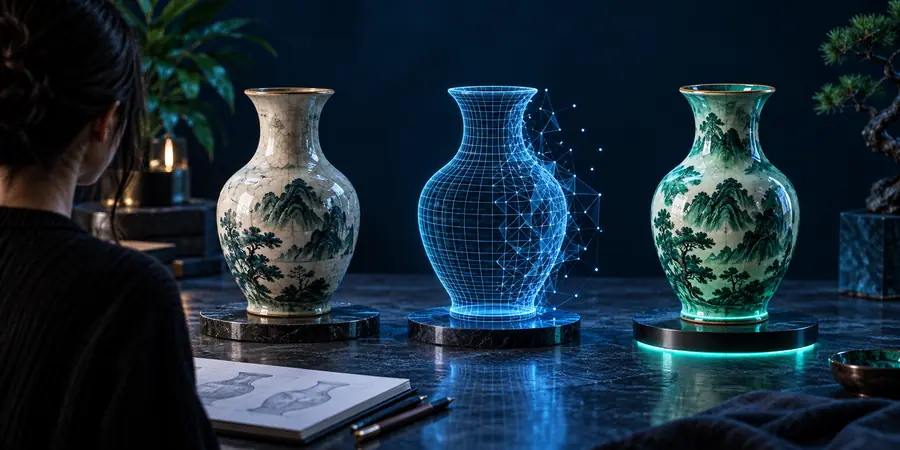
The same image-to-3D method can serve different goals. Set expectations by deciding whether you need a visual approximation, a clean asset, or a starting point for a larger scene.
You have a product photograph and need a fast form study before creating a detailed CAD asset.
Use the generated model to discuss proportions, silhouette, and presentation angles with your team.
how can i convert pixel art to 3dYou want a rough prop from a reference image to block out a level or test composition.
Treat the result as a starting mesh, then rebuild topology and materials where the game requires control.
pixel art to 3D workflowYou need to explore depth from a character, creature, or object drawing without modeling every part by hand.
Use the model to test lighting and camera angles while preserving the original picture as the visual guide.
turning stylized artwork into 3DYou are explaining how flat visual information becomes a volumetric object in a classroom or workshop.
Compare the reference and model to show which details are observed and which are inferred.
a related image-to-3D exampleImages were mainly used as references, textures, or orthographic guides. Any three-dimensional interpretation depended on manual modeling and the artist's judgment.
Photogrammetry and depth-estimation workflows made it easier to infer geometry from multiple photographs, though capture conditions and cleanup remained important.
New image-to-3D approaches began estimating unseen surfaces from learned visual patterns, making single-image experimentation more accessible.
A creator can describe the source, request a model direction, compare the output with the reference, and refine the result rather than modeling every idea from zero.
These answers address the common question behind this image-to-3D workflow: what can one picture provide, and what still needs checking?
Use an image-to-3D tool such as pixal3d, upload or describe a clear reference, and specify the subject, viewpoint, materials, and important details. Review the generated model from several angles because hidden surfaces are inferred rather than directly captured.
One picture can provide enough information for a convincing model concept or starting asset, especially when the subject has a clear silhouette. It cannot reliably show every hidden surface, so the back, underside, thickness, and small details may need correction.
A sharp image with a visible subject, limited cropping, even lighting, and a simple background gives the tool stronger visual clues. Front or three-quarter views usually communicate shape better than heavily distorted, blurry, or obstructed images.
Not automatically. A generated result is best treated as a visual starting point until you check topology, scale, watertightness, thin features, materials, and the requirements of the final software or fabrication process.